
If you, like me, are a lover of the sleeve volume trend then the Papercut Patterns Array Top is for you. This pattern is fairly approachable for beginners and has a lot of customization options, so it’s something I’ll likely make again and again. I’ve already made it twice, but for this version I wanted to try something new – sheer fabric.
Papercut patterns Array top pattern
The Array Top has a loose-fitted bodice, oversized sleeves, optional elastic at the wrists and waists, and optional waist ties. Oh – and it can also be made as a dress! I haven’t tried the dress yet, so I can only speak to the top. One consistency between the variations though is the sleeve volume. They are oversized and – in my opinion – amazing. This isn’t my first time making this pattern and given that it can be made with few pattern pieces and the complex bits are optional, I’ve found it to be quite simple. It can be a bit oversized, so if you like your tops to be more fitted it might not be for you or you may want to size down.
The sheer fabric
If you choose a heavier, stiffer fabric, the sleeves will be voluminous and structured. If you choose something more lightweight, the sleeves will be flowy and airy. The first time I made this top was in a cotton shirting. Below, you can see that the sleeves take on a different shape with a fabric of this much structure.

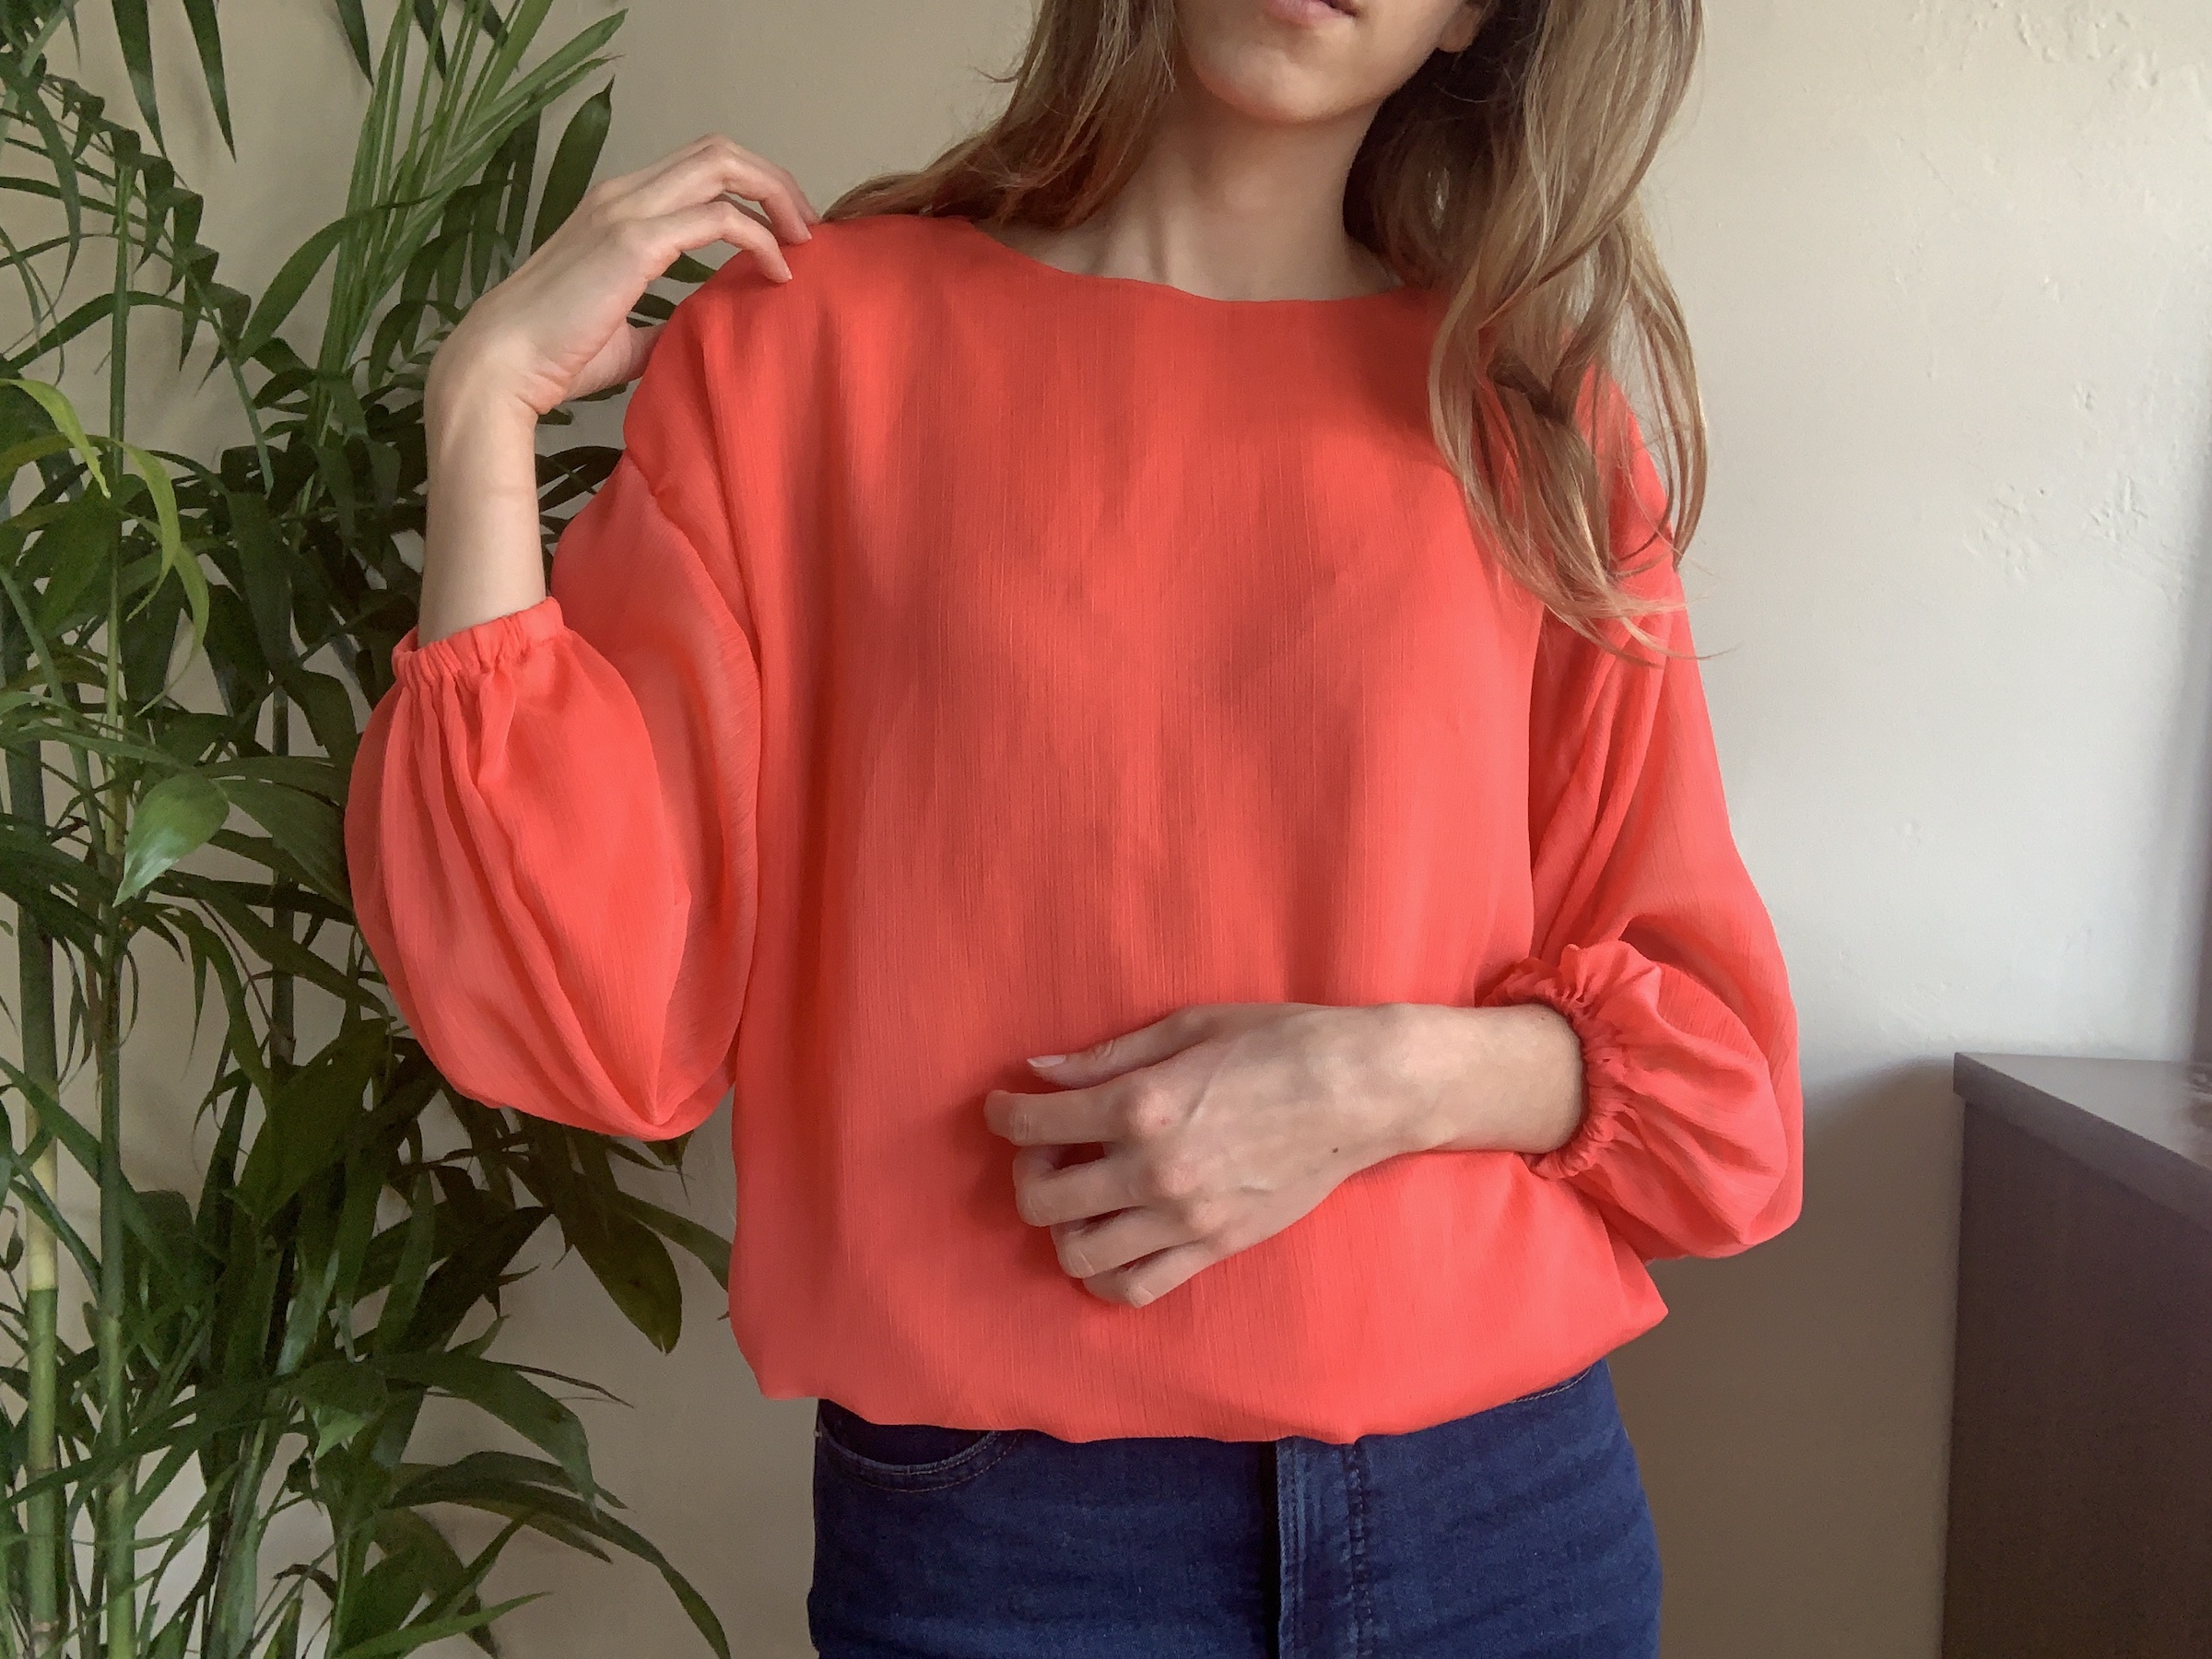
For my latest version of the top, I wanted something a bit more romantic and airy so I went with a sheer chiffon. I’m pretty picky about what I will actually wear and I knew that if the top was see through I would never wear it. So I decided to double layer the chiffon for the back and front bodice pieces. Sheer fabrics have a great feature of being more opaque when you double layer the fabric on itself. In the pictures below, you can see the difference between a single layer over my hand vs. a double layer.


I only did the double layer on the bodice and you can see the difference in transparency between the sleeves and the bodice.

Keeping the sheer opaque
To get the double layered fabric for the bodice, I cut out two of each the front and back. This required a bit more fabric than the pattern recommends obviously. From there, it was really quite simple. I pinned and sewed my two duplicate front pieces together at the shoulders and neckline just inside where the seam allowance is – around 1/4” for this pattern.

Once they are sewn together, you can flip the fabric right sides out so that the seams are inside. You now have a single front piece with a finished neckline.

The bonus of this method is that it removes the need for a neckline binding or finishing. I repeated this process for the back. Once I had a finished front and back piece, I continued the pattern normally with exception of ignoring the unnecessary neck finishings.
The finished Papercut Patterns Array Top

I am so in love with how this Papercut Patterns Array top turned out! I even bought 4 more yards of chiffon because I just love the look of a sheer, especially in a pattern that creates volume. If you are looking for inspiration, I’ve created a sheer Pinterest board. Even if you aren’t into sheer, this pattern is a pretty simple way to try the sleeve volume trend. Any questions about the process or the pattern? Feel free to leave a comment below. Happy sewing!
