The V9253 pattern has been a sewing community favorite for years now. I remember being wowed by it the first time I saw someone make it on Instagram, but for some reason it’s taken me forever to jump on the bandwagon. When I saw a gorgeous, low-cut, color-blocked dress on Instagram, I knew this pattern would be perfect to try and recreate it.

Choosing fabric + sizing
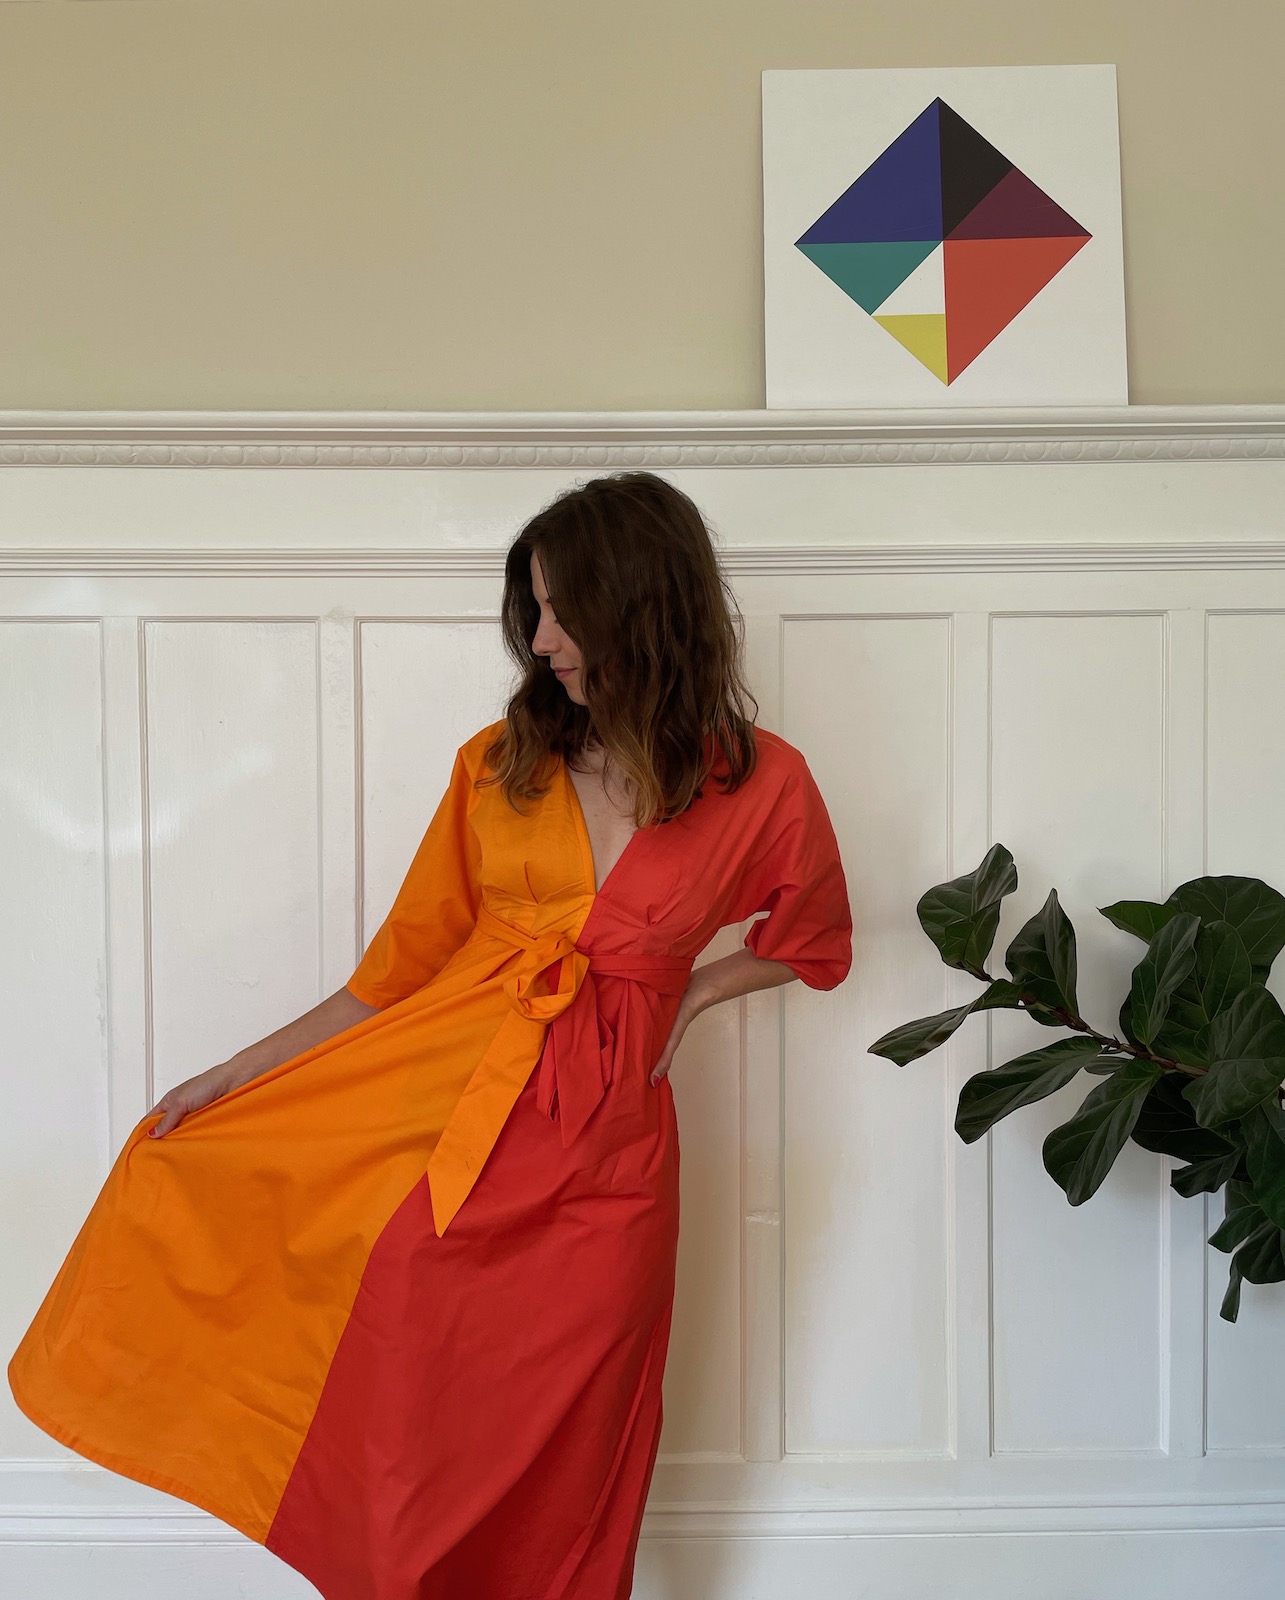
I was inspired a red & orange colorblocked dress I saw on Instagram and I wanted to recreate it as closely as possible so I dyed my own fabric using RIT dyes. The colors didn’t turn out exactly how I wanted. I was hoping for more of a burnt orange and a burgundy and my result is a bit more Elmo and Ernie from Sesame Street. Honestly though, the colors are kind of growing on me.

The fabric that I dyed is a lightweight cotton shirting that I scored for $2 a yard at Stonemountain Fabric. It’s a great fabric for a summery version of this dress. It’s lightweight enough to feel breezy, but not so lightweight that it doesn’t have structure or opacity.
I went back and forth selecting my size on this pattern. I wasn’t sure if I should size up or down. After reading through the pattern, I decided to size down. This was primarily because I have a smaller chest and I didn’t want gaping in an already very low neckline. However, I could see sizing up working for some people since there is a tie at the waist that could be used to get a better fit.
Making the V9253 pattern
This V9253 pattern is labeled as a very easy vogue. I feel like it was pretty easy, but I’m not sure I would say its very easy. I personally hate sewing zippers, so anything with a zipper is out of the easy category for me. There are also a good amount of pleats which I always find to be a nuisance. The biggest problem with big 4 patterns to me is always the instructions. Even something that should be easy can feel more difficult because the instructions are so vague.

The neckline on this dress is much lower than anything I would typically wear or feel comfortable wearing. I wanted mine to be slightly higher, so I just sewed up the front a few inches. To do this I just pinned together the two front pieces around the neckline right sides together and then stitched as close as possible to the edge. It’s not a perfect method, but it got the job done. If you want a more precise way to alter the neckline heres a video tutorial or adding buttons is another option.
Overall thoughts
I love the way this dress turned out so much! If I had more dress occasions to attend, I would definitely make more. If you’re thinking of making the dress and looking for inspiration, check out the Pinterest board I created.

This is a gorgeous dress. The colour palette is so vibrant.