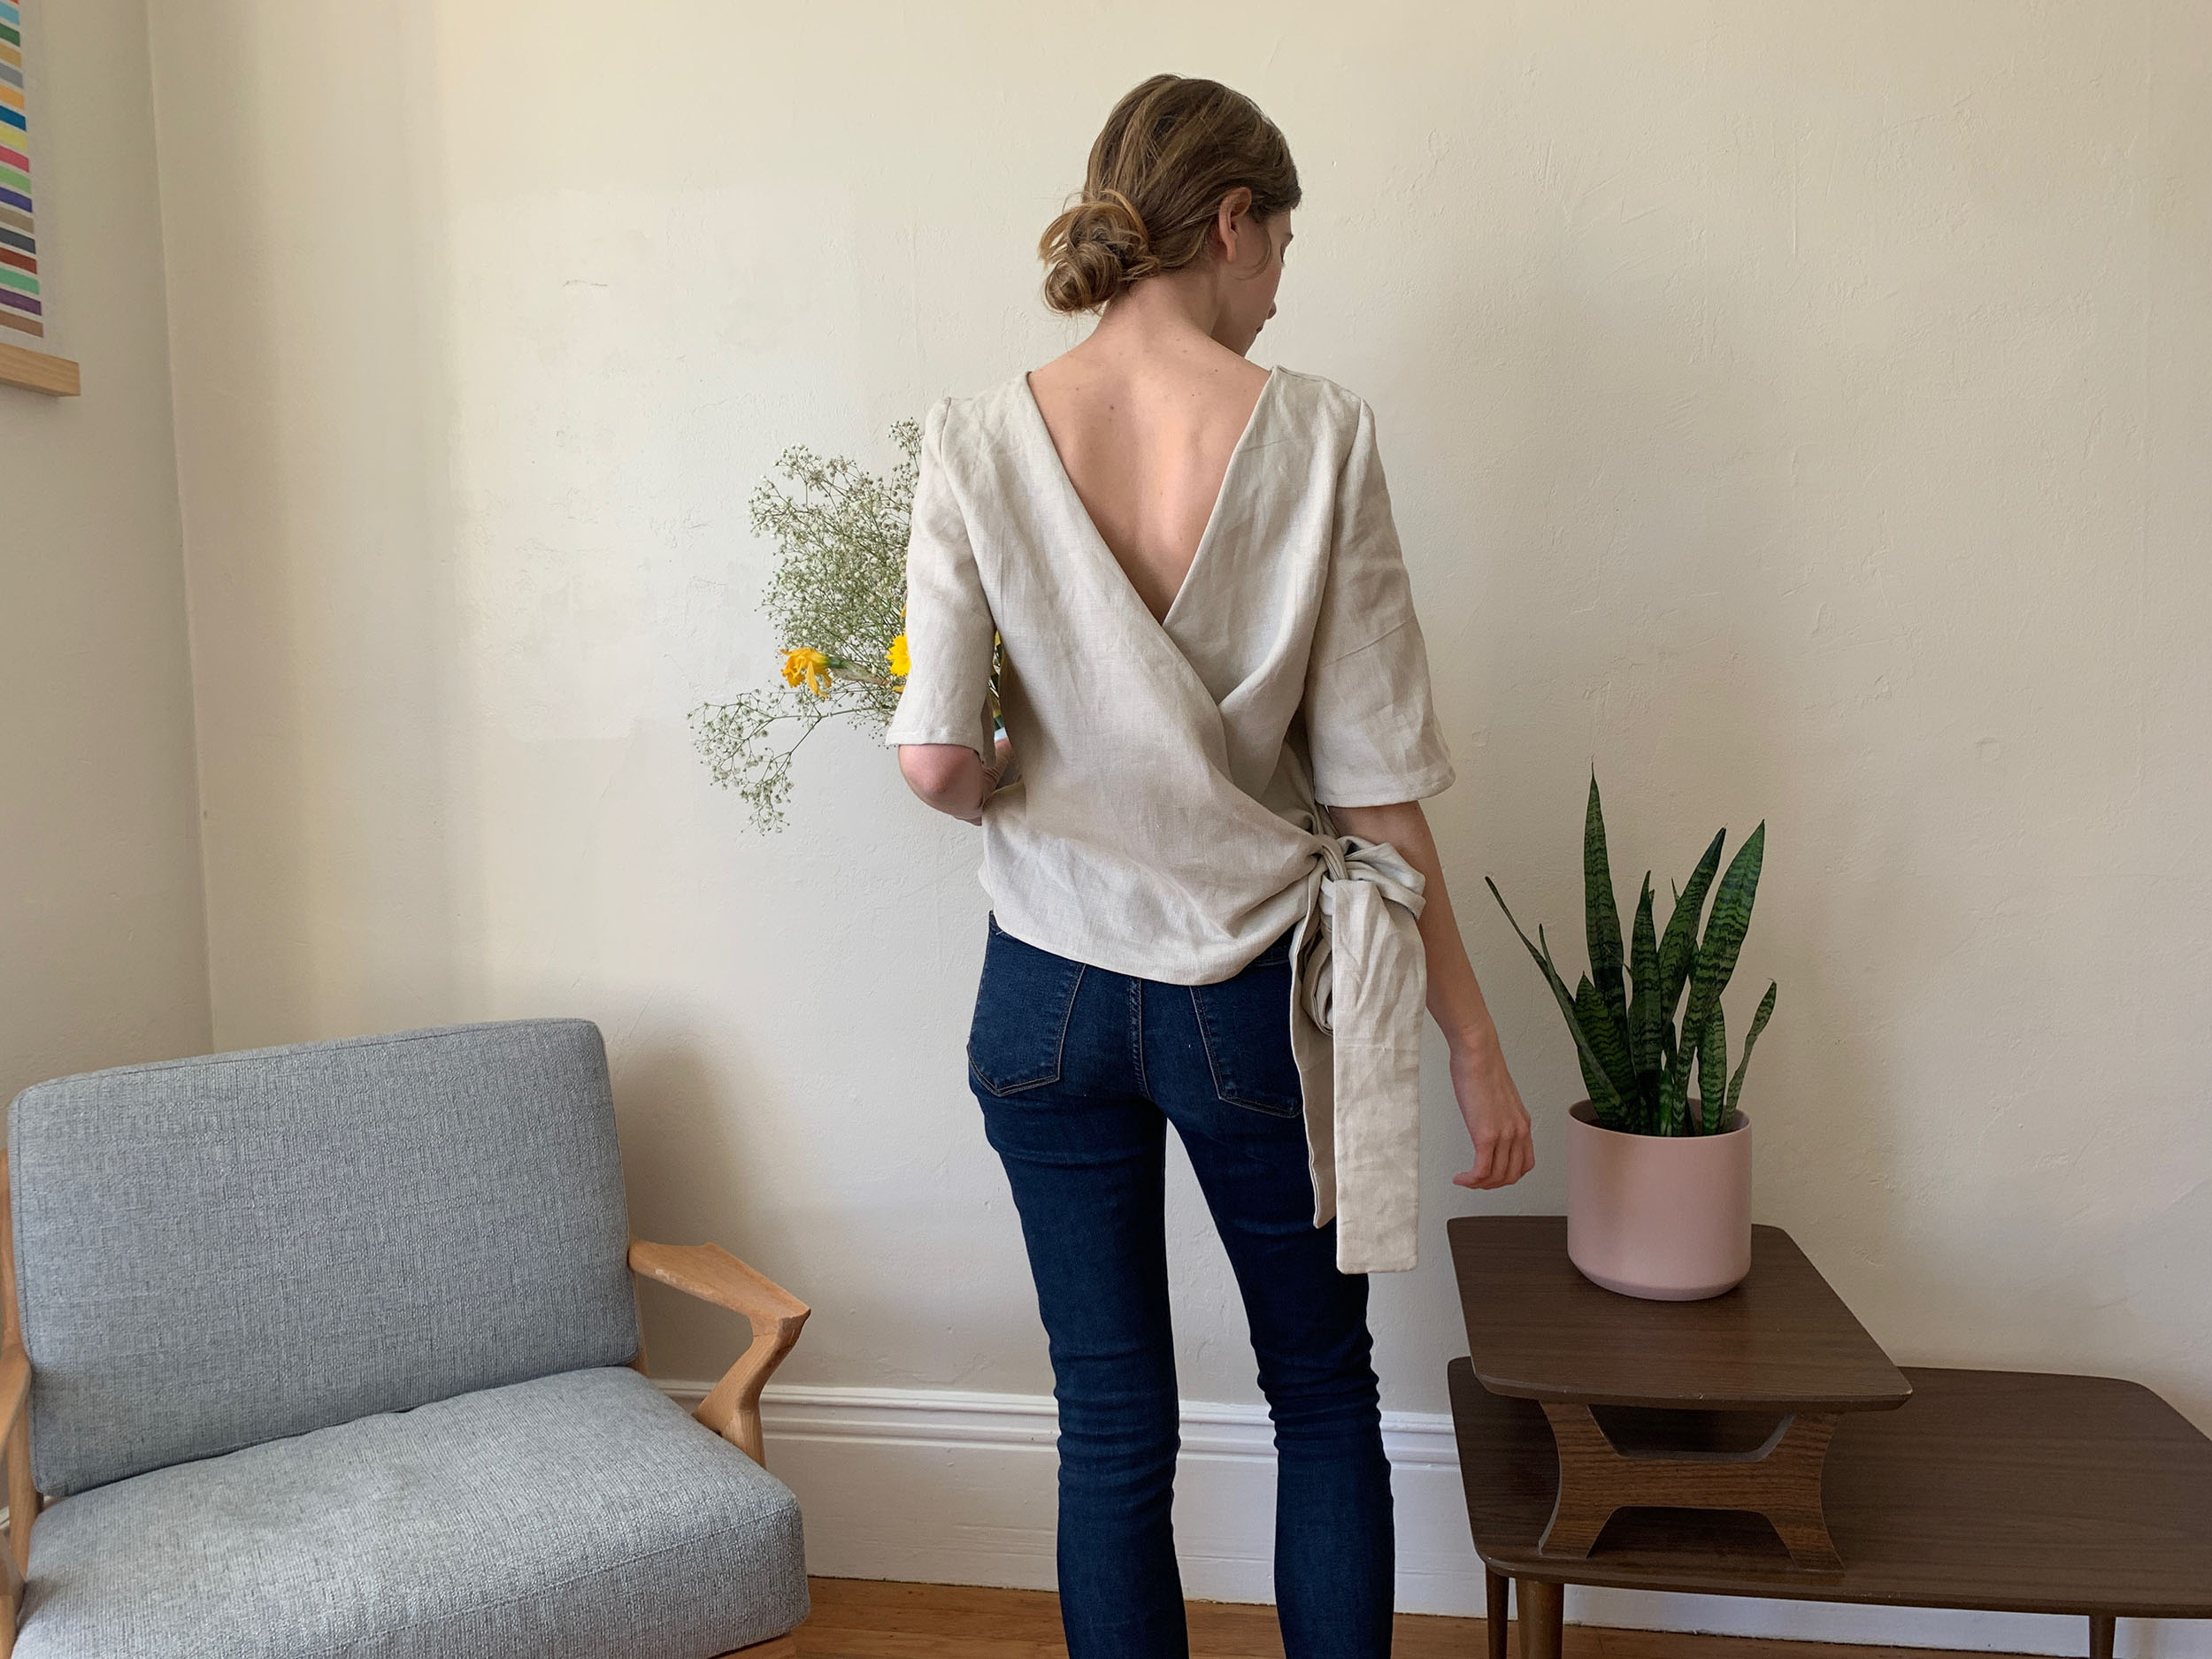
After making the Papercut Patterns sequence pattern as I dress, I almost immediately added the blouse version to my list. I struggled a bit with a few pieces of the dress, specifically the sleeves, and was able to fix those issues a bit on the second time around with this pattern. The wrap top style is one of my favorites and this top will definitely be getting a lot of wear in my closet. The best part is you can wear it two ways – wrap in the front in or in the back – so it’s extra versatile.

Sewing with linen
My first Sequence dress was made with a lightweight fabric with a lot of drape. I wanted to try something with a bit more structure this time, so I chose a 100% linen that I found on sale at Stonemountain & Daughter. I love sewing with linen, it’s so sturdy and stays put while you stitch. This linen was no exception. I found that the weight of the fabric gave the top a lot of structure which I personally love. The thick linen does make the ties of the top a bit bulkier, which you may or may not prefer.

Papercut Patterns Sequence Blouse pattern + sizing
I struggled a bit with this pattern when making the dress. I found the shirt to be easier – partly because I was prepared and partly because the top didn’t have the fit issues that I experienced with the dress. The directions of this pattern are a bit vague at times, but I found it easier now that I had an idea of how things would come together. This is a pattern that I would recommend making a muslin (or wearable muslin) of first.
I went with a size 2 – a size up from what I usually do. I figured I can always wrap the top a bit tighter if needed. I’m generally pleased with how it turned it out and am glad I sized up. I like that it has a looser, more relaxed fit.
Making the top with set-in sleeves
The first time I made this pattern, I didn’t realize just how much ease the sleeves would have and I tried to ease by hand. This really didn’t work for me – you can read about that in my last blog post. When making the shirt, I was totally prepared for the large amount of ease and used ease stitches to help. If you haven’t used ease stitches before, it’s a really simple way to get set-in sleeves to fit without gathers.
First set the stitch length of your machine to 4 or 5. Sew a line of basting stitches along the sleeves cap about a 1/2” inward from your seam allowance. My seam allowances is 3/8”, so I will start with basting stitches at a 5/8” from the sleeve edge. These stitches should start and end at the front and back notches. Leave long thread tails, which you’ll use to pull the thread.
Next sew another line of basting stitches just outside of the seam allowance. Since my seam allowance is 3/8”, I sewed my second line of basting stitches 1/4” from the edge. Make sure to leave long thread tails again!

Next, pull the threads to shrink your sleeve cap.

You’ll have to match it up with your armhole to figure out the exact amount that you need to pull the threads. You don’t want to pull so much that it creates gathers. It should ideally fit the armhole perfectly. Pin the sleeve to the sleeve to the armhole, adjusting your basting threads to shrink/expand the sleeve cap if needed.

Now you’re ready to sew! Set your stitch length back to normal and stitch the sleeve to the armhole. It’s best to sew with the sleeve on top, so that you can make sure to avoid gathers in the sleeve. You should be sewing in between the two lines of basting stitches. There will be ruffles in the seam allowance and those are totally fine. Once you’re done, you should have a nice set-in sleeve and can remove the basting stitches.
If you’re still unsure about set-in sleeves, I recommend this tutorial by Blueprint for Sewing.
Final thoughts on the Papercut Patterns Sequence blouse

Overall, I’m pleased with how this top turned out. It’s a great neutral color, perfect for any season. I love the versatility of being able to wear it with the wrap in the front or in the back. This is definitely going to be a wardrobe staple for me. Now that I’ve figured out how to more easily match up the sleeves, I think I’ll make this again in another linen fabric.

