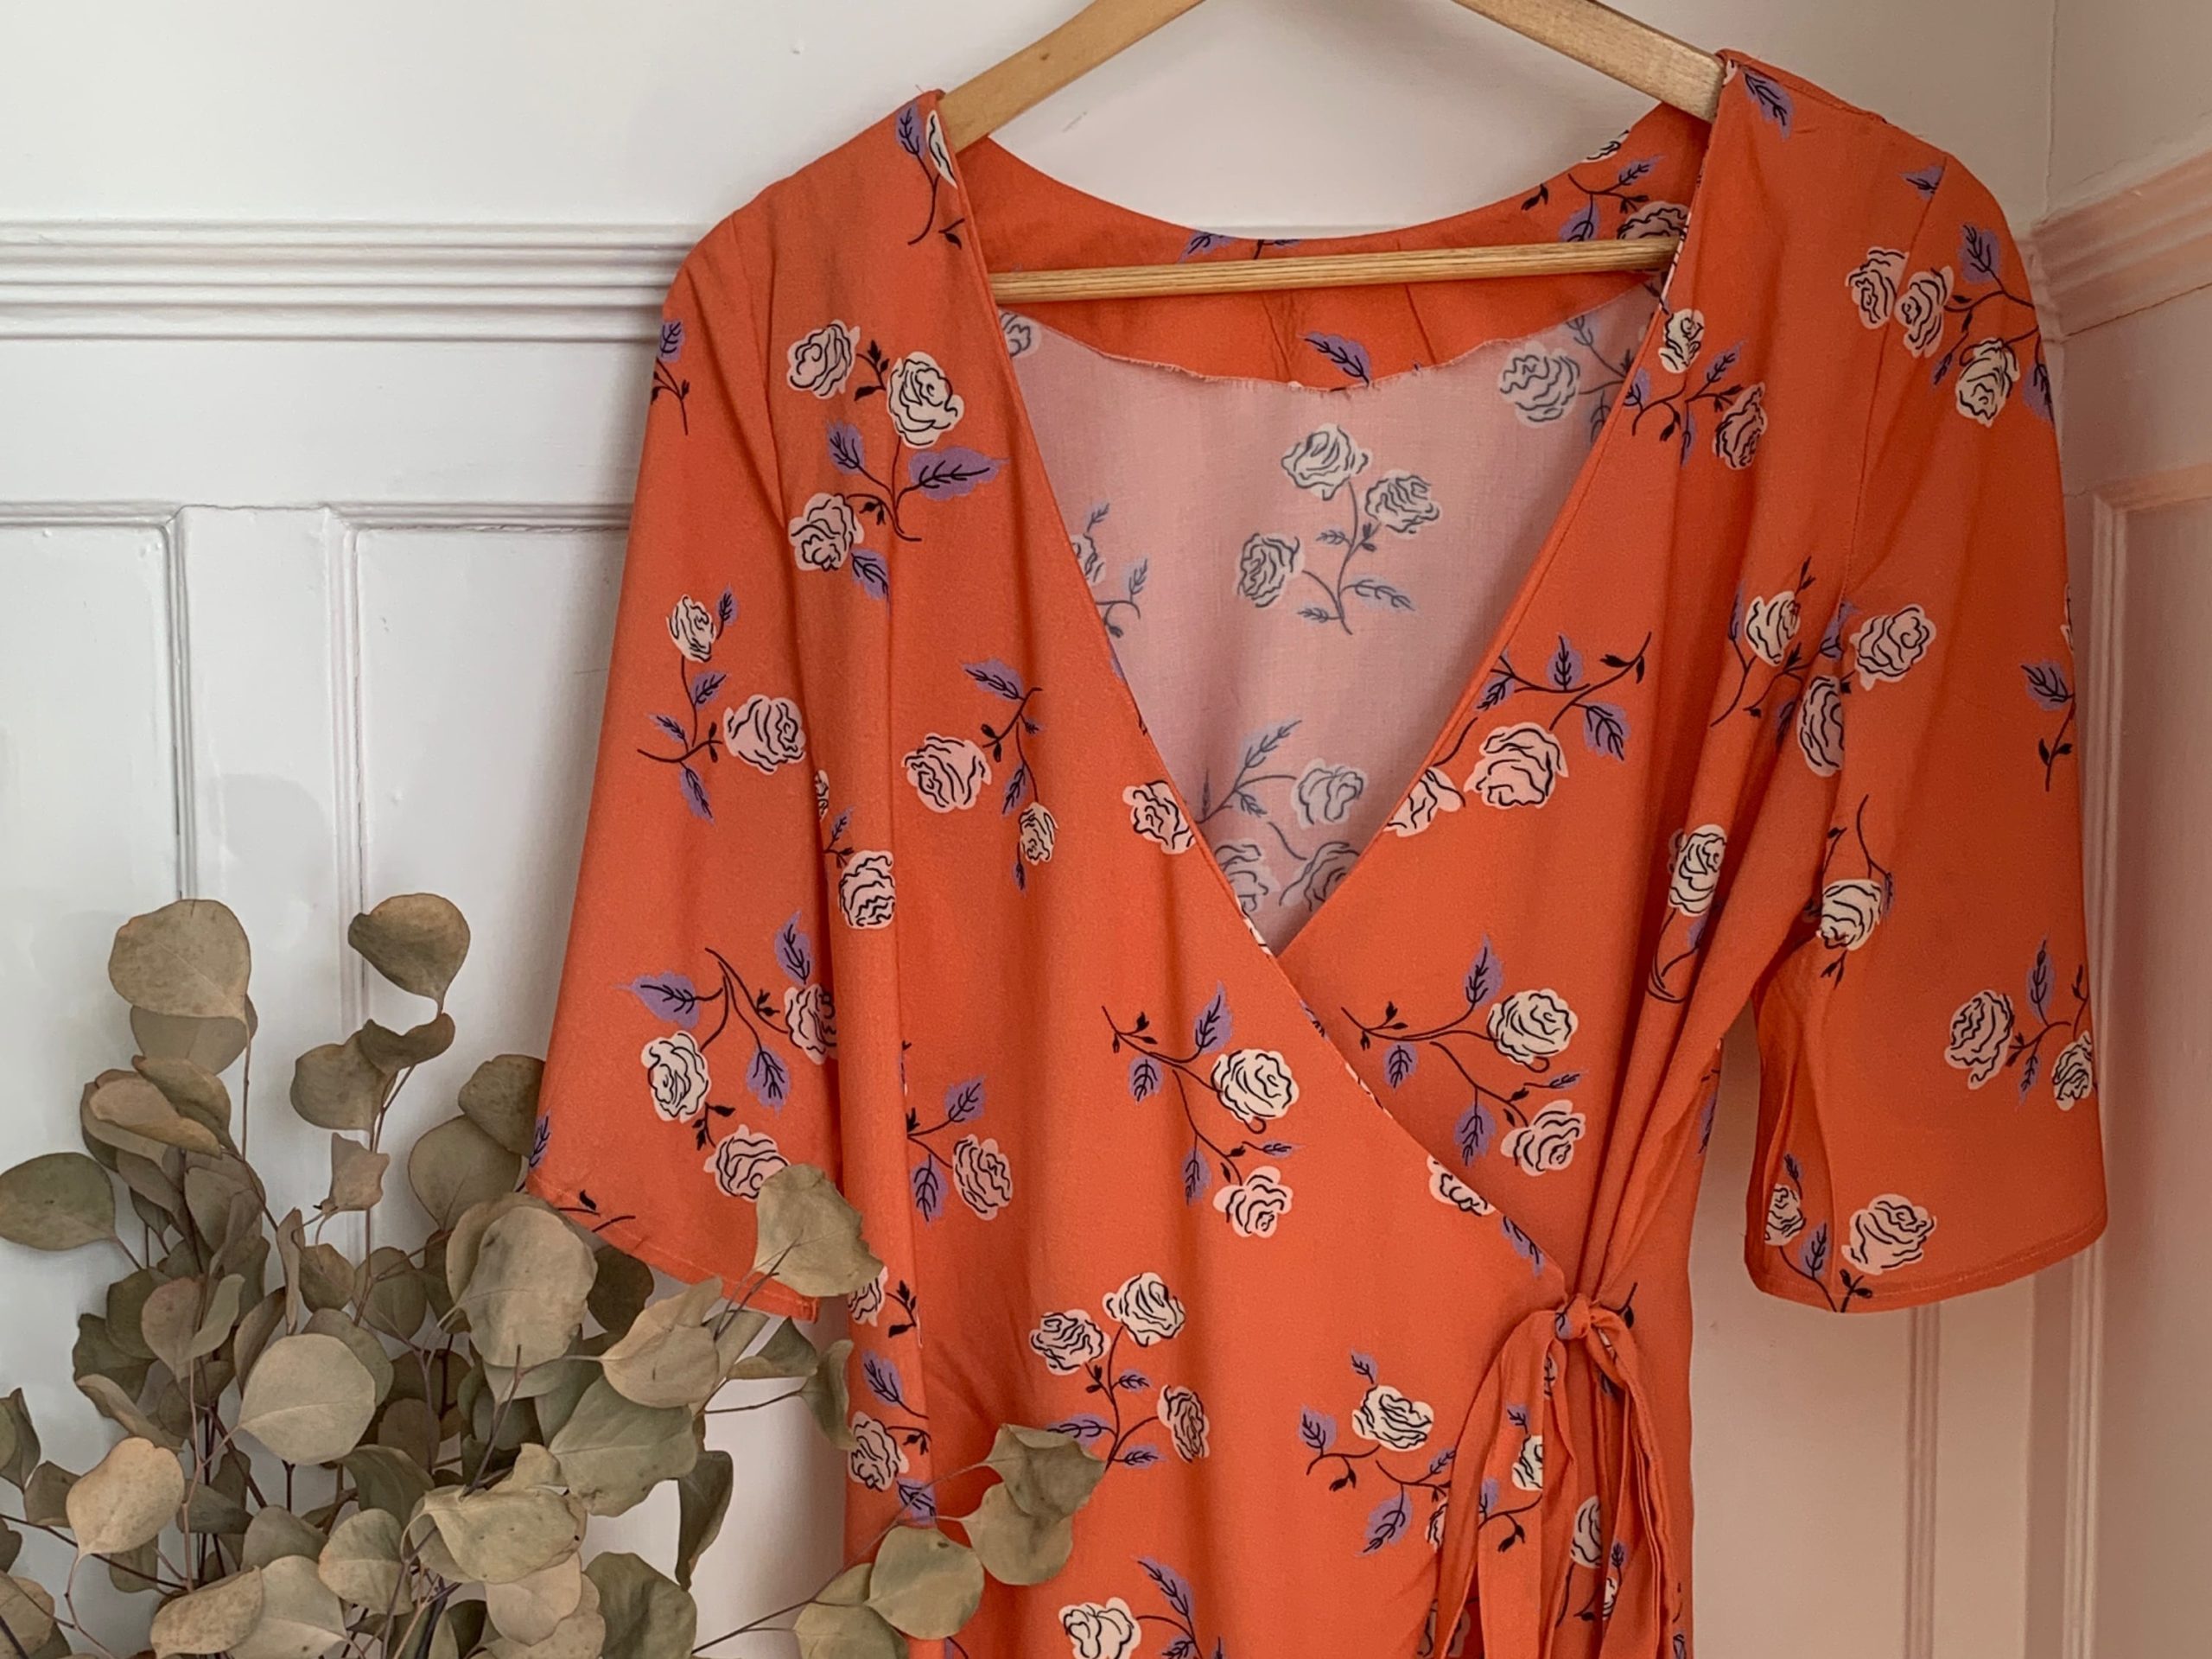
When Papercut Patterns launched their Rubix collection, I was so impressed with all of the designs I immediately bought two patterns: the sequence blouse and the axis blouse. Both of these patterns contain a dress and blouse pattern. The Bay Area Frocktails party was coming up and I had just received some beautiful Ruby Star Society fabric for Christmas. I decided that the Papercut Patterns Sequence dress would be perfect for the event! It didn’t turn out quite how I had planned, but I think it will still get a lot of wear in my closet.

Fabric
The fabric I used is a rayon by Ruby Star Society. I’ve been a huge fan of the designers behind Ruby Star back since their Cotton and Steel days. This particular fabric is lightweight and has a nice drape. It’s not as opaque as I usually prefer for a dress, but I just wear it with a slip. I found that the lightweight fabric was perfect for the wrap dress style, but I think a linen would work nicely for a more structured look.

Pattern & sizing
In my experience, Papercut Patterns have a few additional sizes on the smaller end. I typically wear a XS or S and I chose a size 2 for this particular pattern. The fit isn’t quite how I expected it, but honestly I can’t tell if I should have sized up or size down. If you’re tall, you may want to add a bit to the length as I found it to be shorter than I wanted. You can always take off length when hemming.
One thing I do love about Papercut Patterns is that all of the patterns are printed on recyclable paper! Their designs are also usually my favorite of the indie pattern makers. I can never resist when they launch a collection. The pattern itself is simple in concept, though I did find a few parts of the directions to be confusing. I’ll go into detail on those difficulties in the next section.

Making the dress
This wrap dress is slightly different than other wrap dresses. You don’t loop one of the ties through a hole in the side of the dress. Instead, you button one of the front pieces to the inside side seam. That means that you can’t quite adjust the waist by tying the ties tighter to cinch the waist. However, if you make the ties a bit longer, you should be able to wrap them around yourself to get a more fitted look.
The sleeves in this pattern required A LOT of ease. As I was making it, I almost became convinced that I had cut the wrong size sleeve. I was able to make it work, but even with easing I ended up having to adjust where I connected the sleeve to the armhole, which you can see in the pictures below. If you have any tips on sewing sleeves with lots of ease, please comment below! I’d love to hear your thoughts.


The wrap facing also required a bit of ease. At first I thought I had cut the pieces wrong because they weren’t matching up – the facing was much smaller than the dress front. I just pinned the ends and middle and worked my way inwards, allowing for ease. This worked fine, but it would have been great if the pattern had noted that this would be required.
Step 8 in the directions is to finish the edges of the front pieces. The pattern gives a vague direction to “Neaten the edges” of the dress front. I wasn’t quite sure what they were looking for, so I finished the edges with a mock serger stitch. I later realized that these edges would be exposed and they actually want to you to fold and finish like a hem. This could be my mistake in not being familiar with the terminology, but I think the directions/illustrations could have made it a bit clearer.
Modifications
I did not make any modifications to the pattern. However, I think that the next time I make it I will extend the length. It’s a bit short especially if you’re on the tall side.

Final thoughts
Overall, despite the couple of hiccups with the sizing and pattern directions I still really enjoyed sewing the Papercut Patterns Sequence. Since it’s a bit shorter than I usually wear, I think I’ll reserve it for special occasions and rare SF warm weather. I’m making this pattern again soon as a top and hoping that the second time around the directions and steps are a bit easier. If you’re considering making this pattern as a dress, check out my Pinterest board for some inspo!

