Half square triangles are one of my favorite quilt blocks! Half square triangles are square quilt blocks that are made up of two right angle triangles of different fabrics. They are super easy to crank out and you can make a ton of great simple, modern designs just by combining different colors and sizes of an HST block. I’ll walk you through the basics of how to make this block.

What you’ll need:
- Quilting fabric, ideally 2 different colors
- Ruler, ideally a square quilting ruler
- Rotary cutter or fabric scissors
- Fabric marker
- Iron
Cutting out your squares
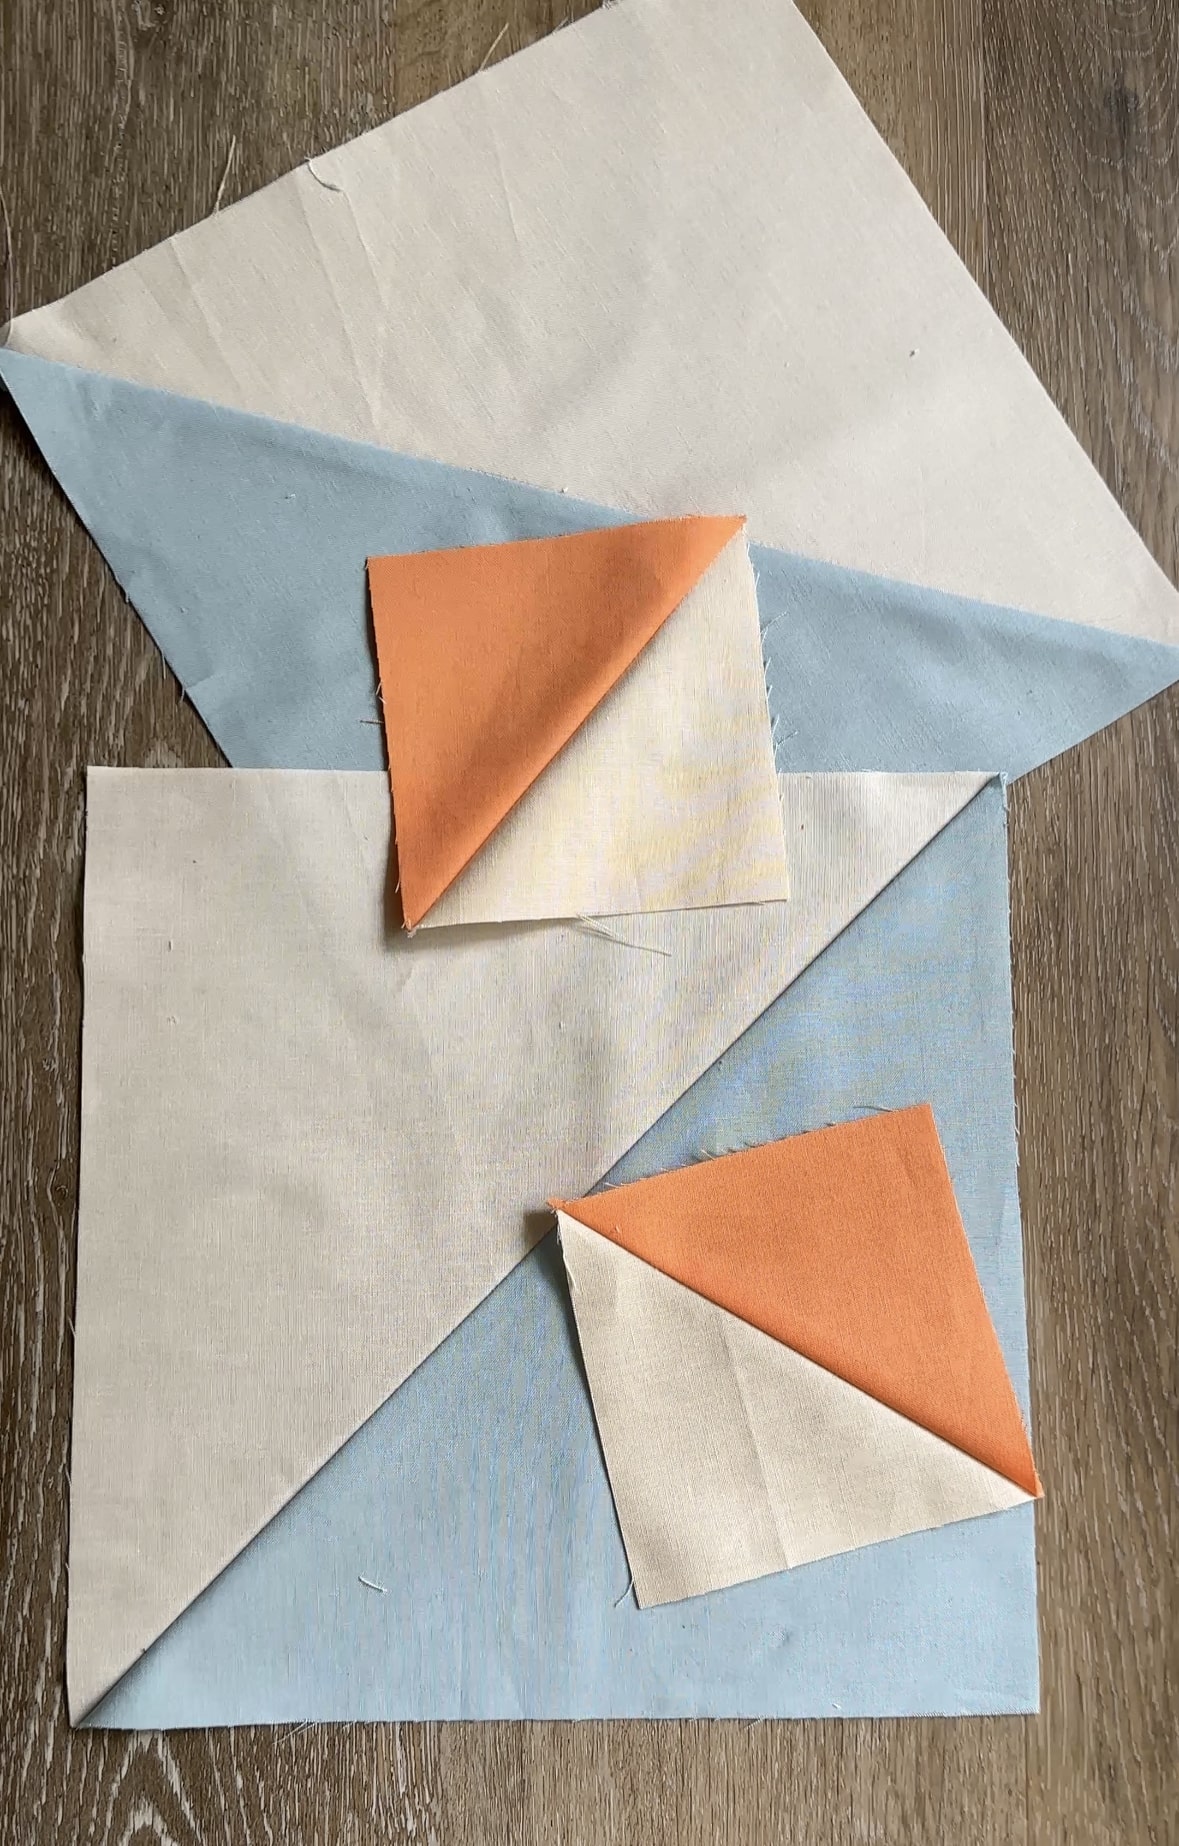
HST blocks start with 2 squares.
If you’re making a pattern, the pattern likely specifies what size squares you will need to cut out for half square triangle blocks. If you’re not using a pattern, you will need to calculate that yourself. The general rule of thumb is to 7/8” to the size of the final block once it’s in the quilt. So if a block is 5” once sewn in, you need to start with a 5 and 7/8” square.
If you prefer to start with larger squares and trim down to the final size, you can add an extra 1/8″ or 1/4″ to that 7/8″ rule of thumb.
Half Square Triangle Cheat Sheet

Making Half Square Triangles – 2 at a time
Step 1: Stitch together
Place the two fabric squares right sides together, aligning edges. With a fabric marker, draw a diagonal line from one corner to the opposite corner using a ruler as a guide. This line will be your stitching guide.

Stitch a seam on either side of the stitching guide that you drew using a 1/4” seam allowance. Your square should have 2 seams with the stitching guide line directly in between.

Step 2: Cut Along the Marked Line
Use a rotary cutter or scissors to cut down the stitching guide that you drew. You should now have two pieces that open up into half square triangle blocks.
Step 3: Press
Next press your HSTs. I typically press my seam allowances towards the darker fabric so that they are less visible, but some patterns may call for pressing seams open.
Step 4: Measure and Trim
The last step in preparing your HSTs is to square them up and ensure they are the size you intended. To do this, you will use your ruler and rotary cutter. Place the 45-degree line of your ruler on the diagonal seam of your HST. Using the 45-degree line will ensure perfect points on your triangles in the quilt. Check that your HST measures correctly on all sides and then trim off any excess fabric.

You should now have 2 half square triangle blocks. Congratulations!

